Showing posts with label lunch. Show all posts

Tuesday, July 31, 2012

Couscous Salad with Lemon Balm Vinaigrette

Another way I wanted to use my CSA lemon balm was in a vinaigrette. I discovered my local grocery store carried the larger Middle Eastern (I think sometimes called Israeli) couscous, so I thought I'd try making a cold couscous salad. It came out decently well, but lacked a little flavor. I cooked the couscous in 1 cup wine + 1/2 cup blush wine, but I don't think it added much flavor. It also ended up being too much liquid - I followed the cooking directions, but I think next time will do 1 1/4 cups water with 1 cup dry couscous. The vinaigrette could've had more flavor, so increased the vinegar, brown sugar, salt, and garlic in the recipe below. I also only had the bottom of my green onions, the tops would've added some flavor, too.You can probably use the typical small couscous for this recipe, too. Photos!

Pretty CSA carrots - I used five for the couscous

Carrots peeled - ready to cut!

Carrot circles, about 1/8-1/4 inch thick

Lemon balm leaves

Chopped lemon balm

Chives!

Lemon balm vinaigrette!

Cooked carrots and onion

Couscous cooking up, I made my couscous in the same pot as the carrots and onion; you can see some orangy oil on top from this.

Steamy, ha

Couscous, ready for incorporation

Final dish!
 Couscous Salad with Lemon Balm Vinaigrette - makes ~3 meals, ~4-5 side dishes
  • 1 cup dry couscous
  • 1 cup carrot circles
  • 2 green onions - divide bottoms from tops
  • 1 tbsp butter
  • 1/4 cup golden raisins
for vinaigrette:
  • 1/8 cup olive oil
  • 3 tbsp white wine vinegar
  • 1 tsp brown sugar
  • 2 cloves garlic, minced or pressed
  • 2 tbsp lemon balm, chopped
  • 1 tbsp chives, chopped
  • 1 tsp seasoning (I used an all-purpose seasoning called Special Shit - no joke)
  • 1/4 tsp salt
  1. Prepare vinaigrette first, to allow flavors to mingle, could be made day before. Add olive oil, vinegar, and brown sugar to bowl or bottle and whisk (with whisk or fork) or shake. Add garlic, lemon balm, and chives to liquid. Add seasoning and salt and whisk or shake final mixture. Refrigerate if making ahead of time, or for other uses.
  2. Cook carrots on low heat in butter while cutting onions. Add onion bases (the more onion-like part) and cook on low-med heat for 7-10 minutes, until translucent.
  3. Meanwhile, prepare couscous as directed. Add carrot and onion to couscous, along with golden raisins and green onion tops, mix.
  4. Add vinaigrette, stir, and refrigerate to chill.

Tuesday, July 10, 2012

"Ginger" Cashew Chicken

So it seems I almost forgot to post about this one! Based off of a recipe I found using Epicurious from Bon Appetit - Ginger-Cashew Chicken. I put ginger in quotes in the title of this post because I didn't use any ginger. I made a smaller version of the recipe, using what I did have on hand (no chicken broth, no dry mustard, added mushrooms), and it made two servings. It came out pretty well - the biggest surprise was that the slight cooking of my embarrassingly old cashews made them taste quite a bit fresher! If you are sensitive to saltiness I would suggest adding less soy sauce. Here is my ingredient list:
  • 1 tbsp olive oil
  • 5 green onions (dense bottom part, used tops for second part)
  • 2 cloves garlic
  • 1 chicken breast
  • 3 celery stalks
  • 1 cup oyster mushrooms
     
  • 1 tsp olive oil
  • 1/8 cup water
  • 1/8 cup wine (I used a semi-sweet rose blush, same as in this post)
  • 1 tsp Dijon mustard
  • 1 tbsp soy sauce
  • 1 tbsp oyster sauce
  • 1/4 cup cashews
  • tops of green onions
  • 1/2 cup uncooked rice (cook while making the rest)
Here are most of my veggie ingredients - note that I separated out the base of the green onions from the tops

Sliced oyster mushrooms ready to go

Starting with the green onion bases

I added the mushrooms about halfway through the cooking time of the onions

Everything cooked up! Ready when chicken was just done to keep it juicy.

Here's the sauce...I thought this looked kind of cool :)

Everything - ready to eat!

On rice.


Very savory and tasty!

Friday, June 22, 2012

Simple Dishes - Penne Mozzarella

Sometimes the best things are the simplest. One of my favorite dishes is very easy, quick, and has nice subtle flavors. Oddly enough, I found the recipe for this meal in Seventeen. Yes, the teen girls' magazine. For some reason I've had this unending subscription (okay, so I got some free subscriptions and picked Seventeen - when I was 22) that has been following me though I haven't updated my address. I think it may have finally stopped coming this sping, though. Haven't seen any charges on my credit card. Just Seventeen in my mailbox each month. Anyways, it was a nice little pull-out section that has exercises, food tips, and sometimes recipes. Besides being simple, I like it because it serves two. Seventeen doesn't have it posted online, but I found someone published it here. Here are my modifications and photos, but first, a salad!

Simple salad with CSA greens and strawberries, pine nuts, and (later) pomegranate vinaigrette.

Just wanted to share an obvious use for CSA (or other goods). Inevitably there are always some things you have around that you can toss on lettuce and make a salad with. Easy meal. Now for the Penne Mozzarella!

I love fresh mozzarella; I will use 1/3-1/2 a ball for a full recipe. Can also use those little round ones, baby bocconcini.

I only made half a recipe (for one) so I used half a pint of grape tomatoes, cut in half.

Instead of spinach, I used these two chard leaves.

I cut out the main vein of the chard leaves and then cut up the rest.

Everything ready to go!

I let the garlic (usually use 2-3 cloves for the full recipe) sit in the olive oil on low while I cut everything up, then turn up the heat when I add the tomatoes.

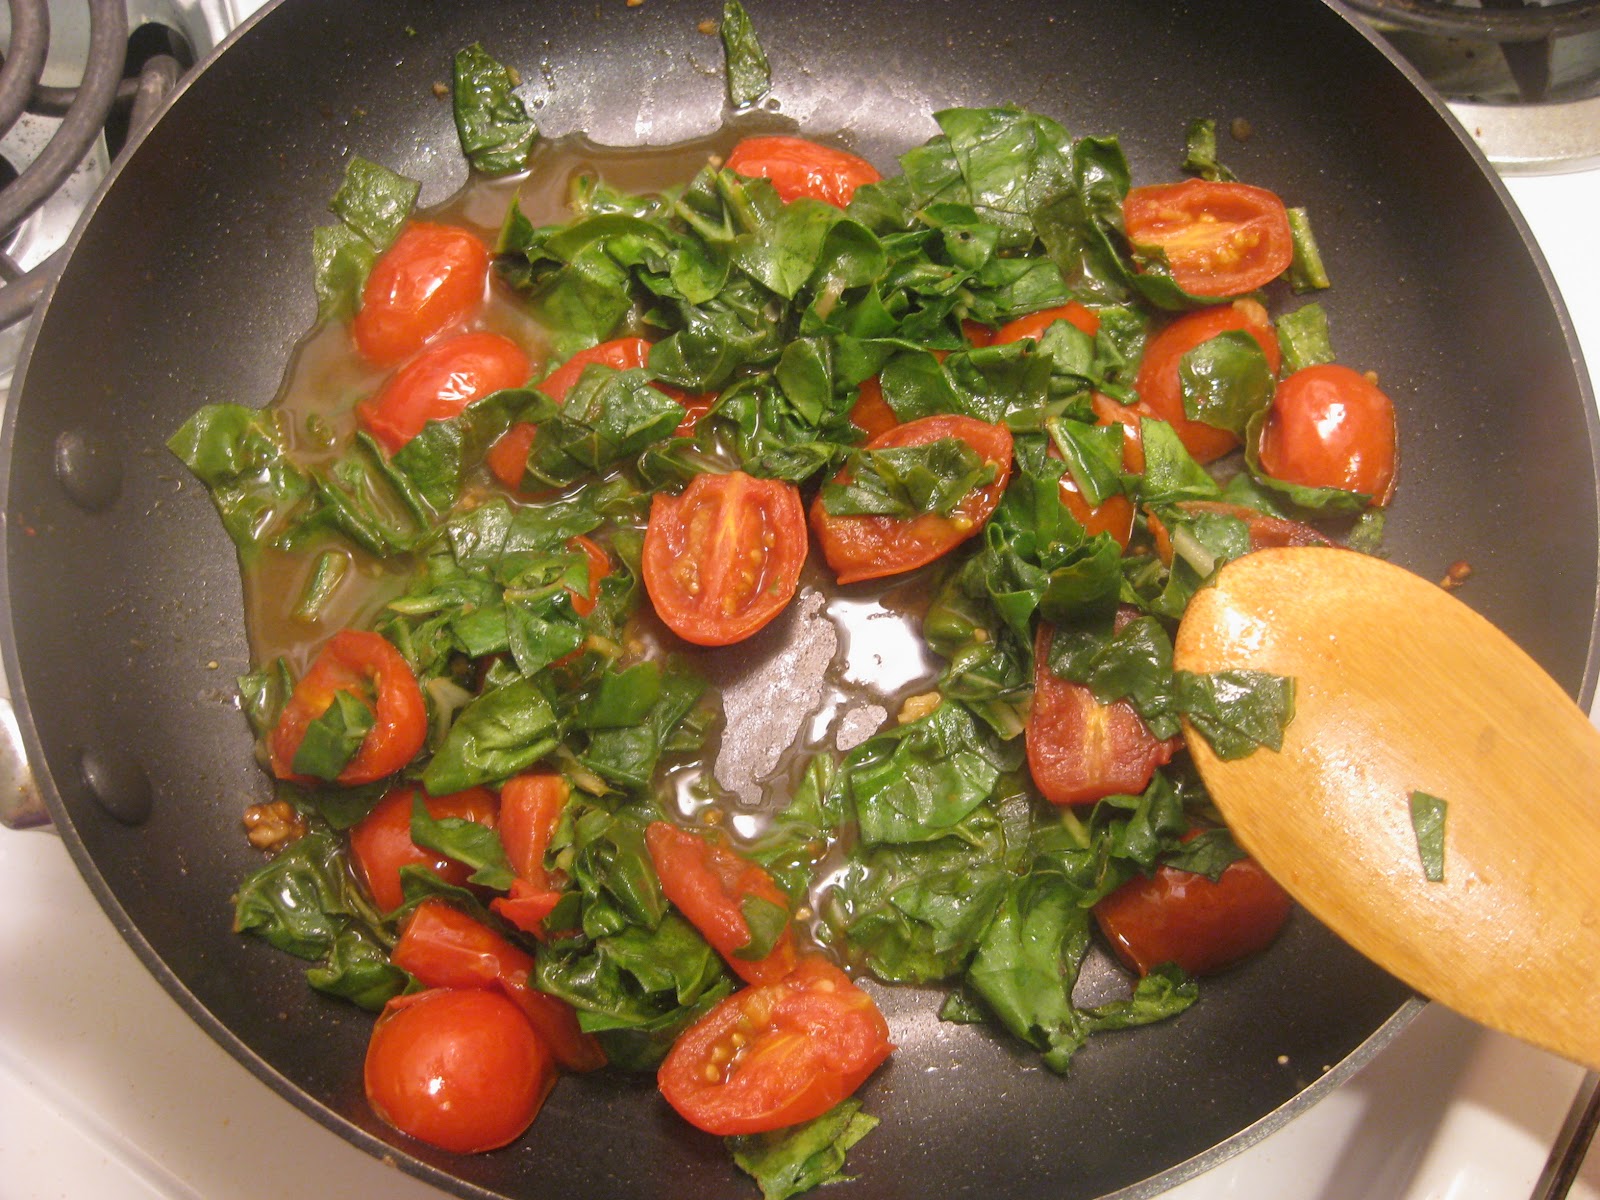
These ones got a little overdone, but tasted just fine.

Added the pasta water and chard, as well as some salt. I usually add the spinach after the pasta, but figured the chard needed more time to wilt.

I heat everything all together for a little so it's all warm.

Instead of mixing the cheese in, I add the pasta mix and cheese in layers in the bowls. This keeps the cheese from sticking into one giant mass.

So simple, so good! Simply delicious :)

Wednesday, May 23, 2012

Savory Wheat Pancake

I like to be resourceful and use what I have. I am also lazy and don't like to go out and buy things. This leads me to make substitutions are attempt to create new things. A recent experiment has been to try to create a pancake using wheat flour. Oddly enough, the inspiration for this was the Bible. I had been reading through the various laws regarding offerings in the Old Testament, and a few times saw something that described making cakes from flour mixed with oil. Here are a few verses (NIV) that describe this:

Exodus 29:2 And from fine wheat flour, without yeast, make bread, and cakes mixed with oil, and wafers spread with oil.

Leviticus 2:4-7 If you bring a grain offering baked in an oven, it is to consist of fine flour: cakes made without yeast and mixed with oil, or wafers made without yeast and spread with oil. If your grain offering is prepared on a griddle, it is to be made of fine flour mixed with oil, and without yeast. Crumble it and pour oil on it; it is a grain offering. If your grain offering is cooked in a pan, it is to be made of fine flour and oil.

I tried a few times to make some cakes using what I had on hand, which in particular happened to be an abundance of wheat flour. Ultimately, this is the recipe I came up with:
  • 3 Tbsp. wheat flour
  • 1/4 tsp. baking powder
  • 2 tsp. olive oil
  • 4 Tbsp. soy milk
  1. Mix dry ingredients in measuring cup, add wet ingredients and stir until just mixed.
  2. Pour batter onto greased, medium heat (4/10) skillet. Batter may need to be spread out a bit if it is thick. Flip and cook other side.
I have some flavored dipping olive oil I like to use to grease the skillet. It might be interesting to do a version using cinnamon, or other spices. I did make one version replacing 1 Tbsp. of flour with cocoa powder - it resulted in a very chocolaty cake. It was good, but rich. It might make for a good breakfast. For the record, I used light vanilla soy milk. I imagine other liquids will work, too. You can eat these by themselves, putting toppings on them, or use as a wrap. Now for some photos!

The batter, just lightly mixed

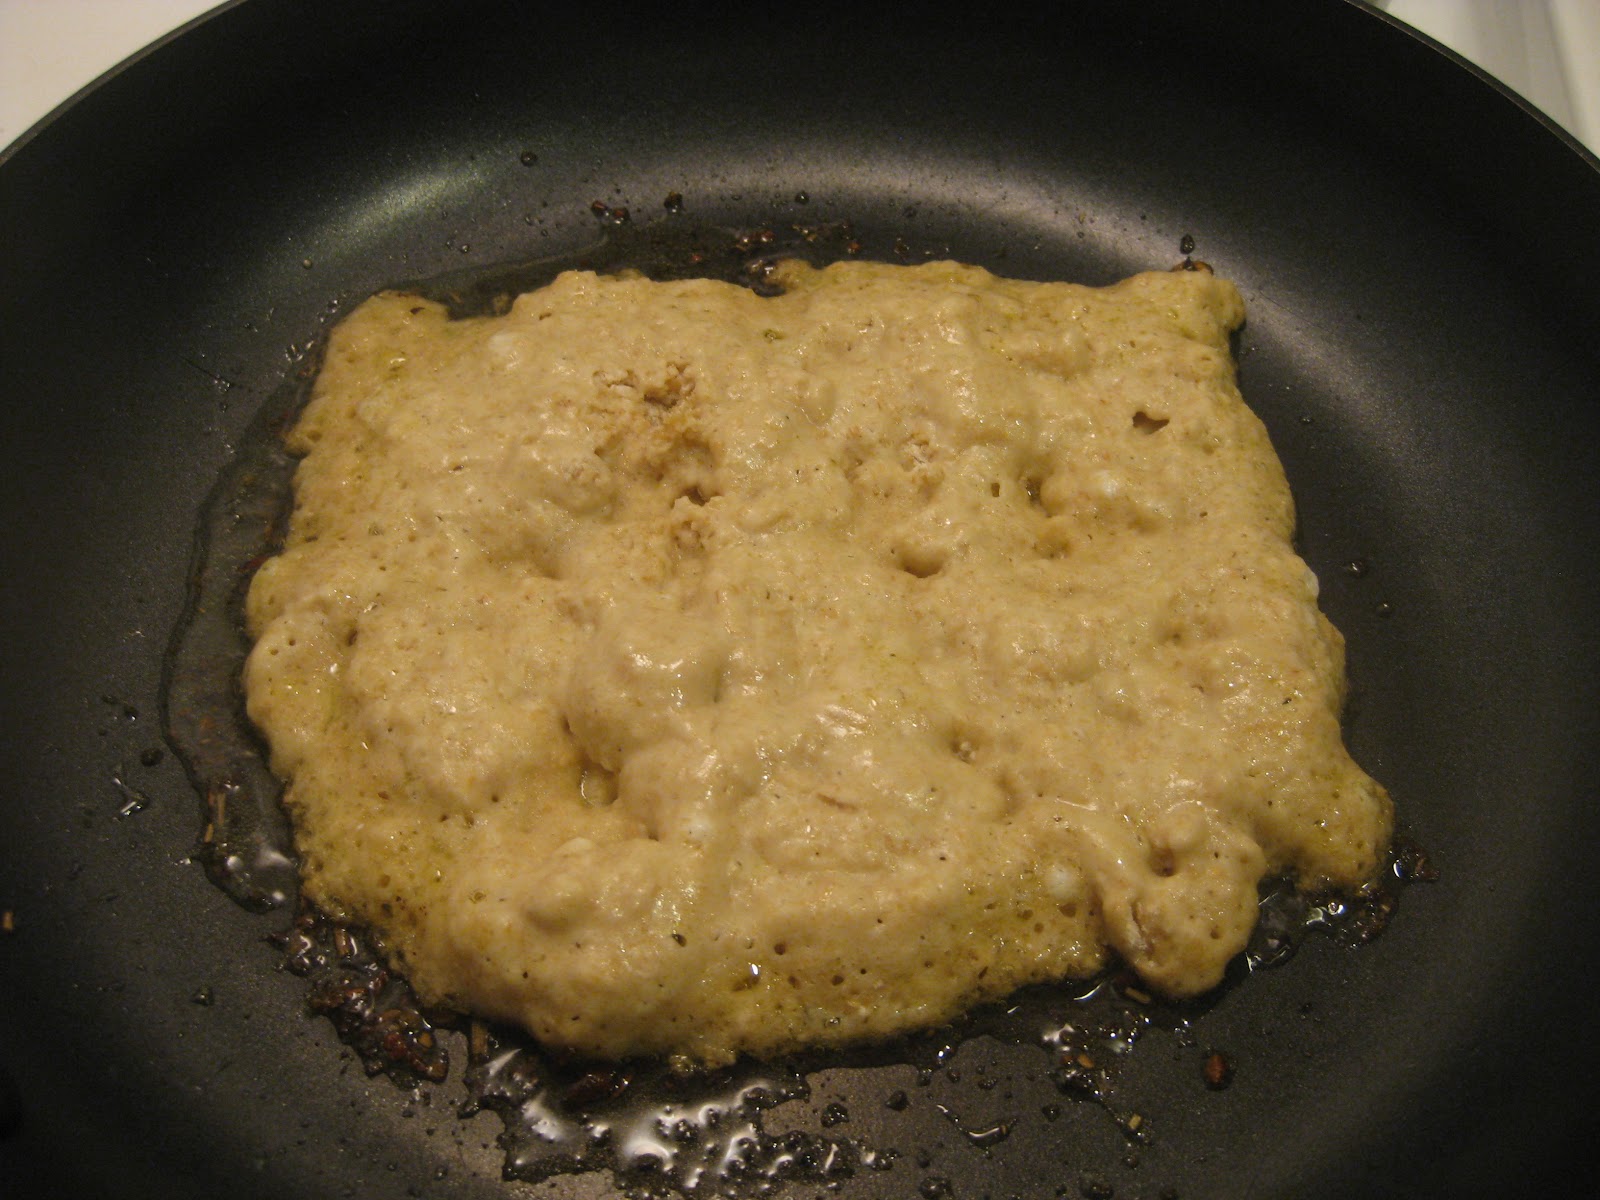
Batter on skillet - was spread out with a spatula since it was a bit thick.

I flip it when the top looks kind of dry.

The cooked side.

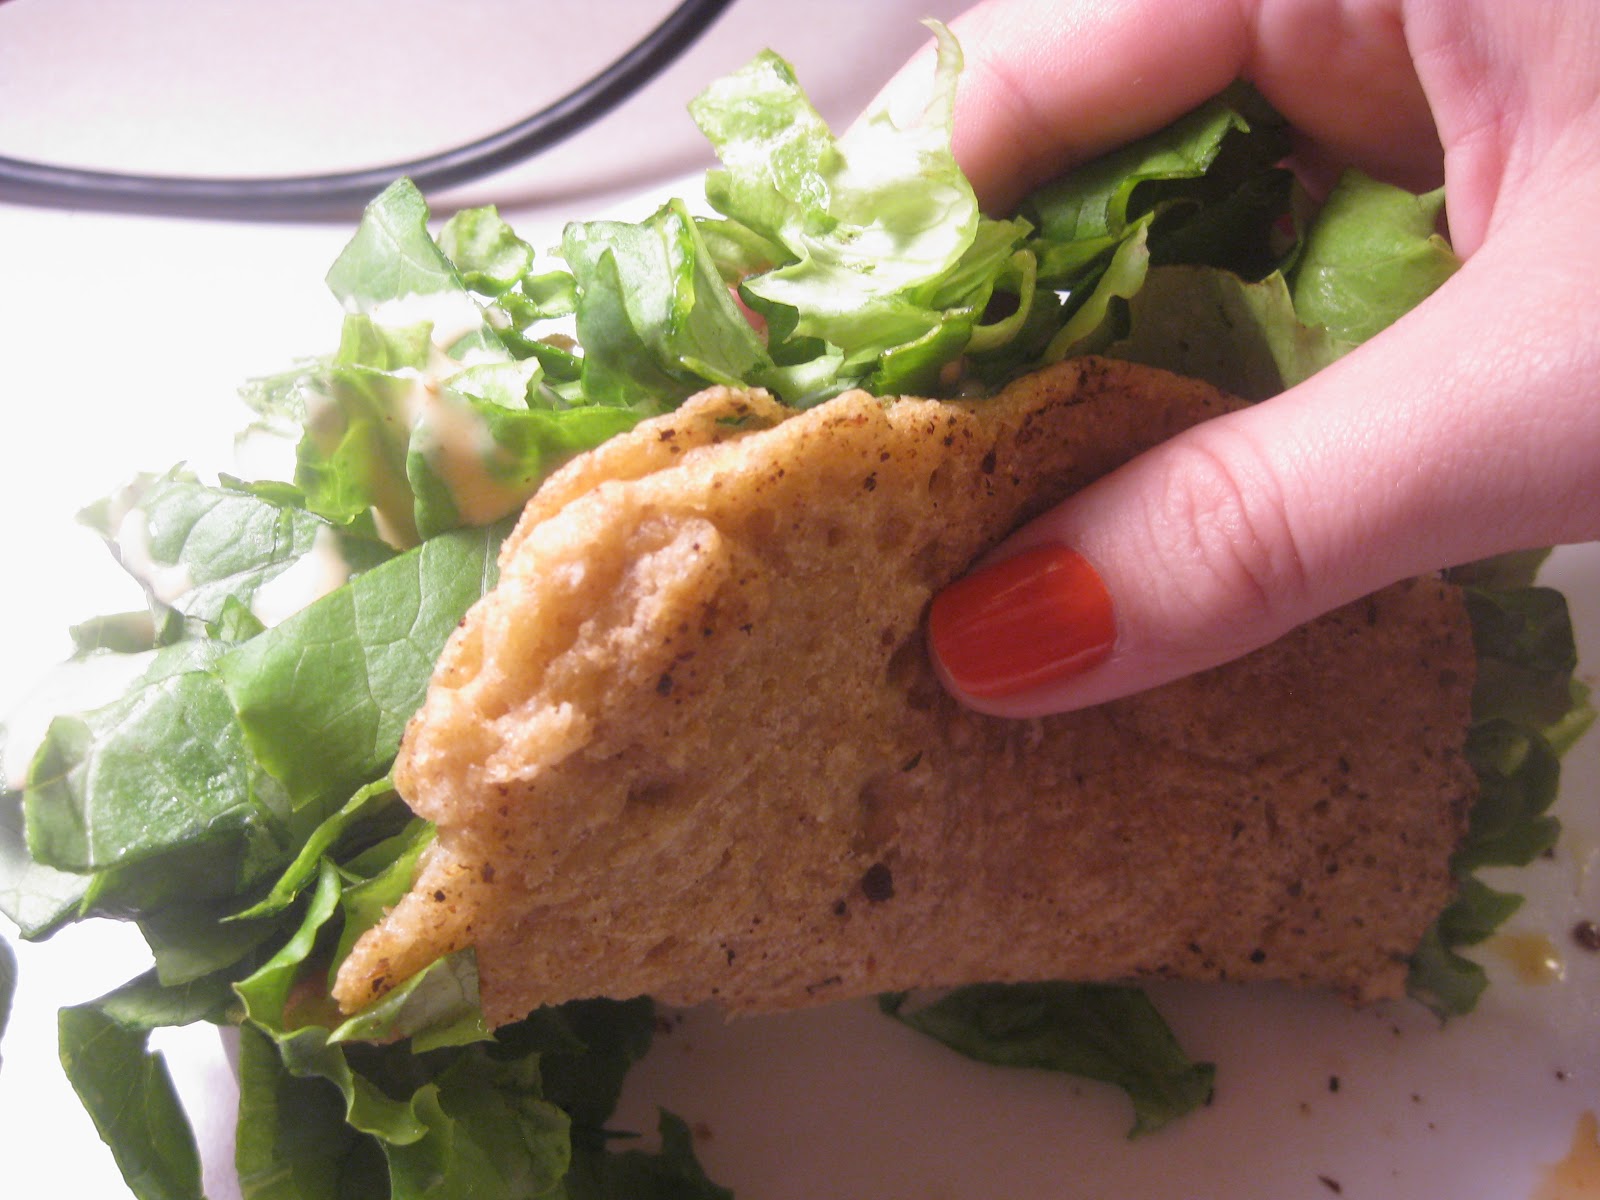
I used some of my CSA lettuce and a some BBQ ranch dressing to make a little wrap.

There was a lot of lettuce, but the pancake is there :)

Yum! It tastes a bit like a chalupa - would probably be delicious with taco stuff.

A bit much lettuce, but tasty.

One last look!

Saturday, April 21, 2012

Eggcellent Easter

Easter was my favorite holiday when I was little, mostly because of all the pastel colors. Nowadays, I think New Year's is my favorite, but I still really enjoy coloring eggs. My friends and I have colored eggs together the past few years and it's always been fun. This year I hosted a little party at my place. I supplied the dye baths, a dozen extra eggs, snacks, and drink and asked my guests to bring eggs to dye. For the past two years. I have followed some Martha Stewart instructions for marbleizing eggs that I really like. It's really quick and the results can be amazing.
There were prettier pictures, but they weren't uploading, so you get this gross one, haha.
All you need is vinegar, food coloring, and olive oil. The above instructions are for blown-out eggs, but it works just fine for hard boiled ones. After testing the different colors of food dye, it seems the blue, green, and red are best for marbling. There was a teal one that came with a set of "neon" food colors (Kroger brand) that was probably the best and prettiest. Now for the eggs! Well, some were dyed by my friends :)

Okay, these are from last year - but they show off the marbleizing well!


I like to put my eggs in rainbow order :)

These were some of my favorites from this year. The front one was marbled, the back two were made using a clear crayon and multiple dye baths.
Now that you had so many hard boiled eggs, what to do? Besides eating them as a snack, for breakfast, or on salad, my favorite thing to do is make deviled eggs. It's so easy, can be elegant, and is so delicious! I like the recipe in Better Homes and Gardens Cook Book. It's my favorite cook book actually, because it has such a nice collection of basic recipes with lots of helpful hints. I've also tried Old Bay deviled eggs, but I think the classic style is still my favorite. I've also seen recipes for basil, curried, and herb deviled eggs. If you like spice, adding hot sauce might be fun. And, you can also use salad dressing instead of mayonnaise. So many options! I usually use an icing bag with a star-tip to fill my eggs, which makes them look really fancy, but this time I just filled them using a plastic baggie.

Peeled eggs ready to go! I usually do this under a little running water in the sink.

De-yolked eggs.

Basic ingredients - I usually just eyeball it. I prefer coarse ground Dijon mustard to regular yellow.

Mixed! I should've smashed up the yolks a little more, since this was a bit chunky.

A plastic baggie makes everything super easy - just cut off a tip. Rolling the edge down helps it stand upright so you can fill easily.

Filled - not my most elegant work, haha.


With a dash of paprika, they are ready to eat!