Wednesday, May 23, 2012

Savory Wheat Pancake

I like to be resourceful and use what I have. I am also lazy and don't like to go out and buy things. This leads me to make substitutions are attempt to create new things. A recent experiment has been to try to create a pancake using wheat flour. Oddly enough, the inspiration for this was the Bible. I had been reading through the various laws regarding offerings in the Old Testament, and a few times saw something that described making cakes from flour mixed with oil. Here are a few verses (NIV) that describe this:

Exodus 29:2 And from fine wheat flour, without yeast, make bread, and cakes mixed with oil, and wafers spread with oil.

Leviticus 2:4-7 If you bring a grain offering baked in an oven, it is to consist of fine flour: cakes made without yeast and mixed with oil, or wafers made without yeast and spread with oil. If your grain offering is prepared on a griddle, it is to be made of fine flour mixed with oil, and without yeast. Crumble it and pour oil on it; it is a grain offering. If your grain offering is cooked in a pan, it is to be made of fine flour and oil.

I tried a few times to make some cakes using what I had on hand, which in particular happened to be an abundance of wheat flour. Ultimately, this is the recipe I came up with:
  • 3 Tbsp. wheat flour
  • 1/4 tsp. baking powder
  • 2 tsp. olive oil
  • 4 Tbsp. soy milk
  1. Mix dry ingredients in measuring cup, add wet ingredients and stir until just mixed.
  2. Pour batter onto greased, medium heat (4/10) skillet. Batter may need to be spread out a bit if it is thick. Flip and cook other side.
I have some flavored dipping olive oil I like to use to grease the skillet. It might be interesting to do a version using cinnamon, or other spices. I did make one version replacing 1 Tbsp. of flour with cocoa powder - it resulted in a very chocolaty cake. It was good, but rich. It might make for a good breakfast. For the record, I used light vanilla soy milk. I imagine other liquids will work, too. You can eat these by themselves, putting toppings on them, or use as a wrap. Now for some photos!

The batter, just lightly mixed

Batter on skillet - was spread out with a spatula since it was a bit thick.

I flip it when the top looks kind of dry.

The cooked side.

I used some of my CSA lettuce and a some BBQ ranch dressing to make a little wrap.

There was a lot of lettuce, but the pancake is there :)

Yum! It tastes a bit like a chalupa - would probably be delicious with taco stuff.

A bit much lettuce, but tasty.

One last look!

Wednesday, May 16, 2012

Rat Hammock!

I've seen rat hammocks for sale, and I had a feeling my girls would love one. However, I thought I'd try making one myself. Originally I had cut the bottoms off some old tall socks I had for little blankets for them (they love nesting with these, or even sleeping inside if they are still tube shaped, like a sleeping bag), and I thought I might make hammocks out of the tops. I probably still will, but upon finding my yarn stash and a crochet hook, I thought I'd try crocheting one.
I honestly don't know a lot about crocheting, but I just made a square (25x25 rows) and then crocheting several rows of edges, including loops to attach the hammock. In a crafty mood, I then went and made another one. The first seemed kind of small, so I made this one 30x30, but it's a little saggy once they all get on it. Which is fine, but it makes the space beneath the hammock a little small. Would be good in a taller cage.

25 x 25 square - pretty pink :)


Binder rings to attach
30 x 30 square - sunny yellow :)


It's pretty taut, but when they lie on it, it sags down.

Full cage view - they just have a small cage now, but hopefully will upgrade soon.
They all checked it out, but were hesistant to stay on it until I moved it up to the top shelf, where they like to be. Besides being a new comfy spot, it also helps me because they used to carry bedding up to the top shelf to bed on, and then kick it out all over the floor. Now that they have this little haven, they've only carried up a couple pieces :) I change the hammock once every 3-4 days.

Front to back: Shale, Chalcedony, and Lilac

Super comfy!


It's hard to get good pictures because Shale always has to see what's going on
...like this :)

Saturday, April 21, 2012

Eggcellent Easter

Easter was my favorite holiday when I was little, mostly because of all the pastel colors. Nowadays, I think New Year's is my favorite, but I still really enjoy coloring eggs. My friends and I have colored eggs together the past few years and it's always been fun. This year I hosted a little party at my place. I supplied the dye baths, a dozen extra eggs, snacks, and drink and asked my guests to bring eggs to dye. For the past two years. I have followed some Martha Stewart instructions for marbleizing eggs that I really like. It's really quick and the results can be amazing.
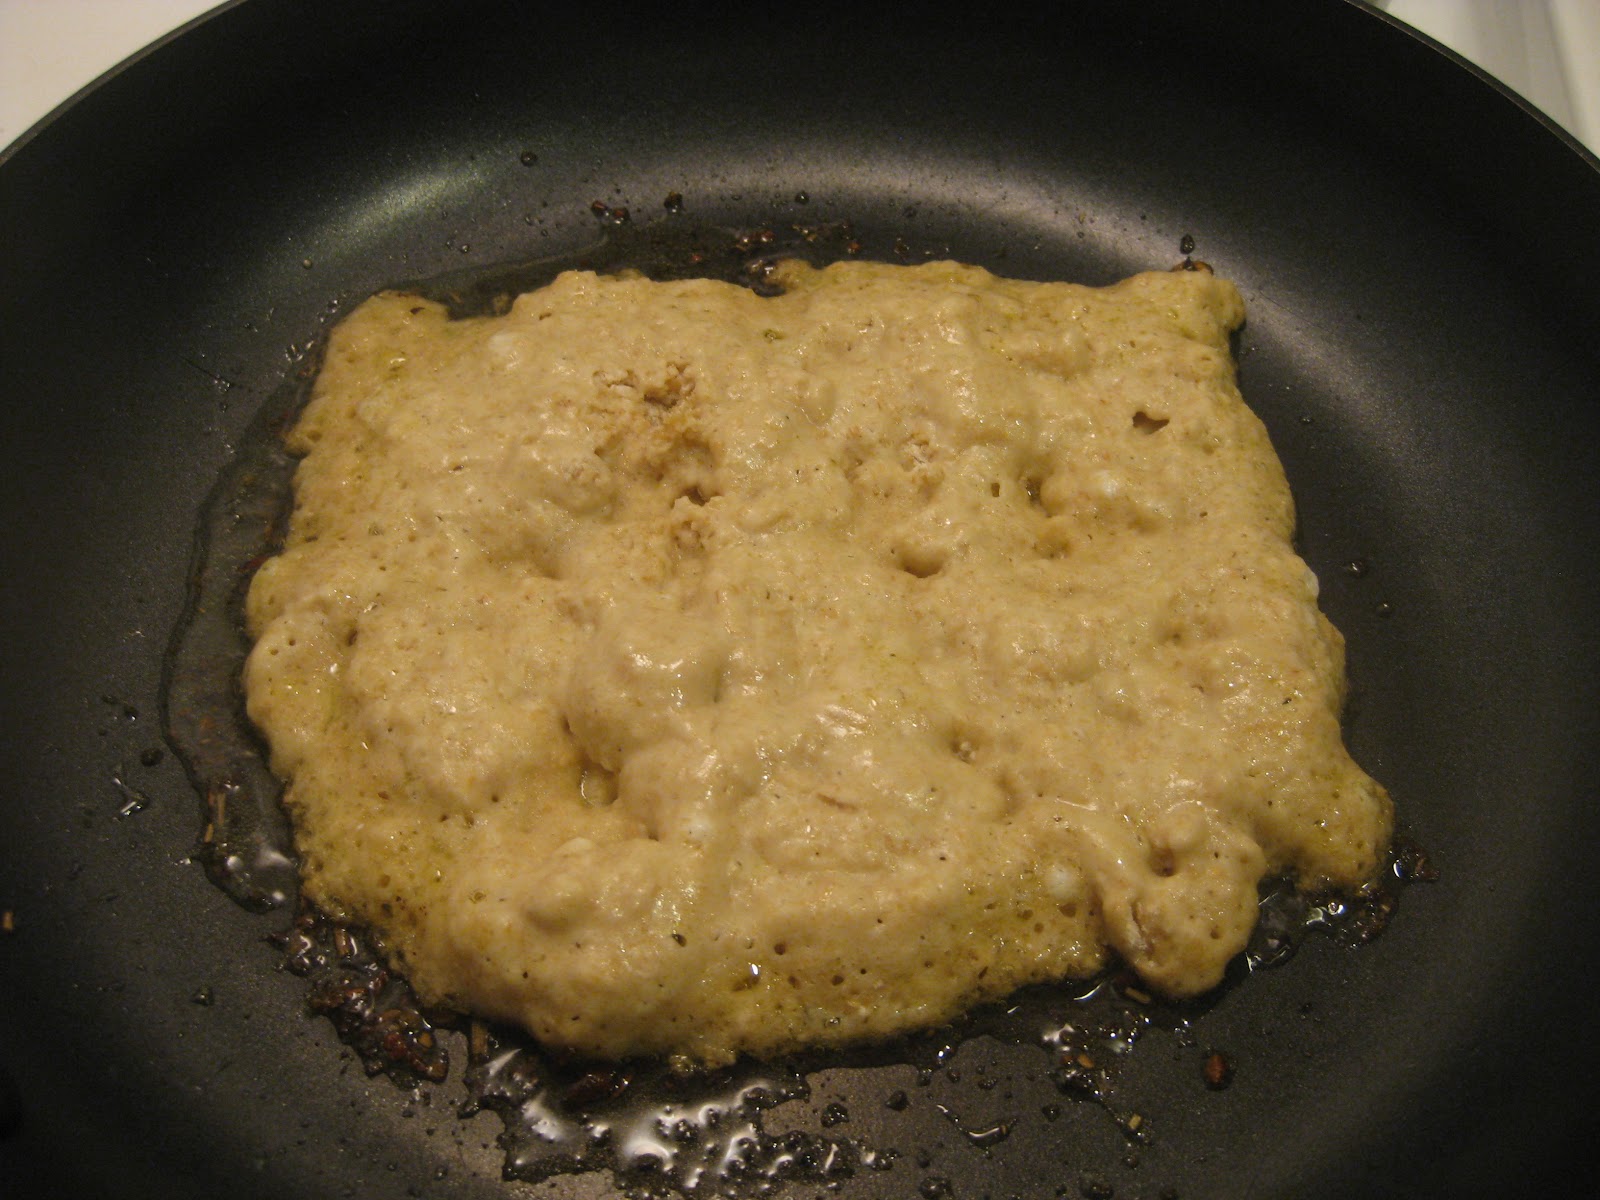
There were prettier pictures, but they weren't uploading, so you get this gross one, haha.
All you need is vinegar, food coloring, and olive oil. The above instructions are for blown-out eggs, but it works just fine for hard boiled ones. After testing the different colors of food dye, it seems the blue, green, and red are best for marbling. There was a teal one that came with a set of "neon" food colors (Kroger brand) that was probably the best and prettiest. Now for the eggs! Well, some were dyed by my friends :)

Okay, these are from last year - but they show off the marbleizing well!


I like to put my eggs in rainbow order :)

These were some of my favorites from this year. The front one was marbled, the back two were made using a clear crayon and multiple dye baths.
Now that you had so many hard boiled eggs, what to do? Besides eating them as a snack, for breakfast, or on salad, my favorite thing to do is make deviled eggs. It's so easy, can be elegant, and is so delicious! I like the recipe in Better Homes and Gardens Cook Book. It's my favorite cook book actually, because it has such a nice collection of basic recipes with lots of helpful hints. I've also tried Old Bay deviled eggs, but I think the classic style is still my favorite. I've also seen recipes for basil, curried, and herb deviled eggs. If you like spice, adding hot sauce might be fun. And, you can also use salad dressing instead of mayonnaise. So many options! I usually use an icing bag with a star-tip to fill my eggs, which makes them look really fancy, but this time I just filled them using a plastic baggie.

Peeled eggs ready to go! I usually do this under a little running water in the sink.

De-yolked eggs.

Basic ingredients - I usually just eyeball it. I prefer coarse ground Dijon mustard to regular yellow.

Mixed! I should've smashed up the yolks a little more, since this was a bit chunky.

A plastic baggie makes everything super easy - just cut off a tip. Rolling the edge down helps it stand upright so you can fill easily.

Filled - not my most elegant work, haha.


With a dash of paprika, they are ready to eat!

Saturday, April 14, 2012

Quick Breads - Lemon Cranberry

Last week I made use of some extra lemon juice and zest I had from another recipe I had made by making some quick bread. I got the recipe from "Old Fashioned Bread Recipes" by Bear Wallow Books. You can find these books at various places, usually gift shops. I think I got mine from the Ozark Folk Center State Park in Mountain View, AR. I made the following adjustments:
  • I only had about 1-2 tbsp lemon juice, but I did have 2 tbsp lemon zest. I was hoping the zest would make up from the juice, but in the end it wasn't as lemony as I'd hoped.
  • I made up for the missing liquid provided by the lemon juice with vanilla. Don't know that I tasted that much.
  • Sprinkled in some poppy seeds for fun; maybe about 1 tbsp.
  • Also threw in some dried cranberries for fun, maybe a bit less than 1/2 cup, which ended up being plenty.
  • Did not do the glaze, but should have as it's not too sweet on it's own. It's not bad by itself by any means, though.
Sadly didn't get any photos of the sliced bread :(

Wet and dry ingredients

Batter looks good! Think I shoudl've mixed it a little less though.

Mmm.

Wrapped it up in plastic wrap after it cooled to help keep it moist.

Thursday, April 5, 2012

Eurypterids and Cake Balls


Fossil cake!
 The other day one of my friends did his oral exam for his PhD. There is a tradition in the paleontology group to make special cakes for big events such as this. This time, we made an giant eurypterid cake. Don't know what a eurypterid is? Also known as a sea scorpion, it's a creature that lived long ago and no longer exists, thank goodness. I mean, it would be terrifying if they did, since some were huge. Anyways, a standard Google search produces decent images. I used cake mix to simplify things, and made one rectangular red velvet cake, and two round chocolate cakes. Do various cutting and piecing together, you get the beauty on the right. Below, is the frosted, decorated final objet d'art. We ran out of frosting, but it did make for a nice two-tone effect. Cashews for eyes, Twizzlers Pull n Peel for...the other parts.
The dead dinosaur on the bottom is a running joke.
I think he enjoyed it :) His advisor stopped by, and seemed happy, though noted there were not enough plates on the back. Yeah, it's generalized. But the recipient was able to guess the genus, so I don't think we did too bad!


Leftover cake pieces to be repurposed!
After all this, there were some miscellaneous pieces of cake left. A proponent of "waste not want not," I decided I had enough to try making cake balls! I had never done so before, though I have enjoyed a few made for me. I checked out Bakerella's site for the basic info. I pretty much decided the key was in the cake to frosting ratio. I made about one cup frosting for what I deemed was about one cake's worth. They were harder to coat than I anticipated, but didn't look as ugly as I thought they would, haha. Notes:
  1. Great use of shaved tops of cake!
  2. I used my bigger cookie scoop, and made about 21 balls, they were a bit big, next time will use smaller scoop. Chilled scoops for a bit before rolling.
  3. Used about 6 blocks of chocolate coating. If you have a little extra, again, "waste not want not!" Surely there is something in your pantry that can get coating and make a nice snack later - pretzels, marshmallows, graham crackers, nuts...
  4. Chilled balls easier to dip, as the coating heats them up and harder to tap off excess coating. Freezing them makes the coating stick to the dipping apparatus.
  5. I made half a batch of Hershey's Perfectly Chocolate Frosting - it's my favorite chocolate frosting. Not that I've ever made any others. Not that I need to.
  6. By the way, I *do* waste sometimes...but why waste when you can make cake balls?!
    Frosting! I sometimes add extra vanilla in place of some milk.
    The cake crumbs pretty easily by rubbing between your hands.
    Mixed crumbs and frosting


Scooped balls, stuck them in the fridge for a bit...
...then rolled them.


Coating, fun sprinkles, and Wilton dipping tools.
Look pretty messy, but a little nicer lined up. Plus coated oatcakes.


Cute and tasty!
Springtime colors :)

Tuesday, April 3, 2012

Chocolate Chip Banana Bread

I greatly enjoy Pinterest, like many girls out there. It's pretty fabulous. It's also a fabulous way to waste time, haha. Anyways, not that point. The point is, I've made a few items I've found on Pinterest, and last week I made this!
The Best Banana Bread You'll Ever Have - A Cup of Jo
Well, I came upon this, and it was perfect because I had two rotting bananas I needed to deal with. I ended up modifying the recipe a little:

1. Only 2 bananas - though the volume seemed to be about right
2. I used vanilla instead of lemon juice (and doubled it to make up for the potential lack of moisture from the bananas)
3. Don't like bourbon, but I had rum on hand
4. No walnuts, as I was expecting a nut-allergic guest I was hoping to share some with
5. I had a dark non-stick pan, so I lowered the temperature to 325 F and ended up baking for 50 min.

At first I though it was too dry, but once it cooled I wrapped it up in plastic wrap, and the next day it was perfect. Not so great out of the oven. I used some Ghirardelli 72% dark chocolate chips, and they were a bit overpowering. I almost used white chocolate chips, and I think I will do that next time to let the banana flavor stand out a bit more.

My photos...